Set up application development environment
Development environment requirements
The software development environment that can use the Pleos Connect SDK is as follows.
| Specification | Version |
|---|---|
| Pleos Connect SDK | v2.0.5 |
| Minimum Android SDK for Development | Android API 26 or higher |
| Gradle Version | 8.0 or higher |
| Development Language | Java, Kotlin |
| AVD | Pleos Connect Emulator |
Pleos Connect Emulator Installation
For the guide on installing the Pleos Connect Emulator, please refer to Setup Pleos Connect Emulator.
AVD Setup
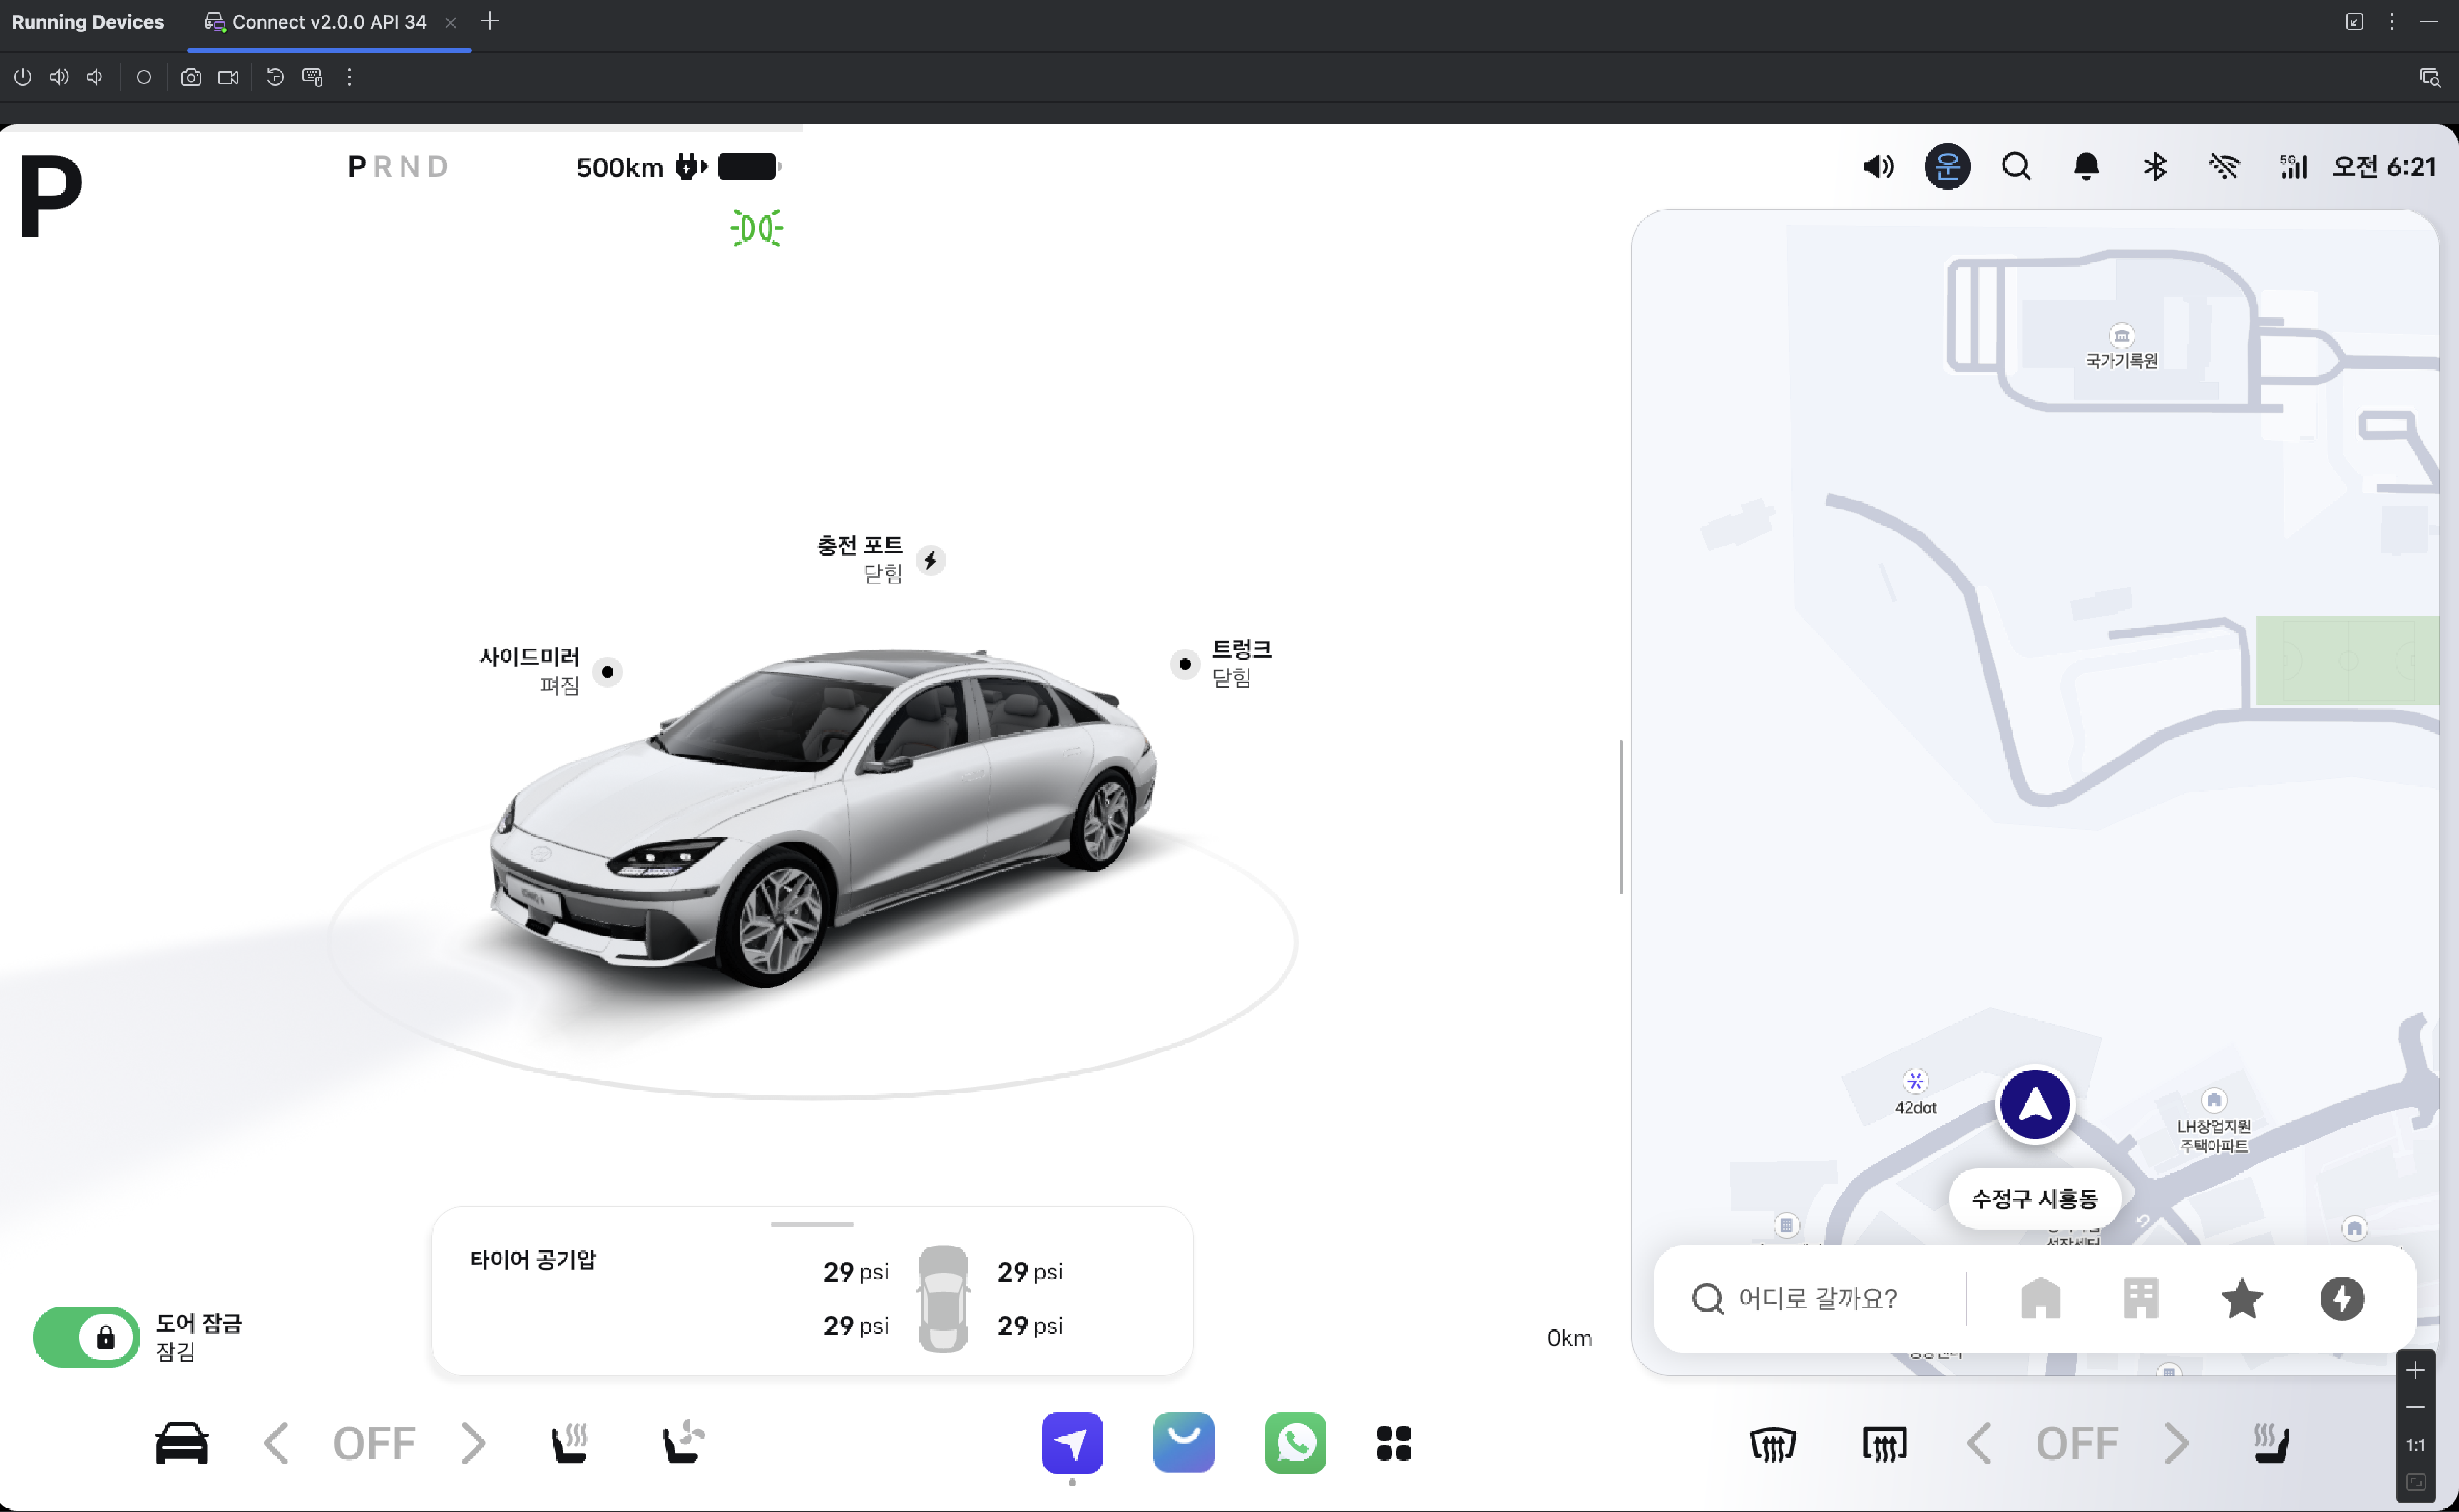
The Pleos Connect Emulator provides an environment for testing apps implemented with the Pleos Connect SDK. It offers VHAL functionality to allow testing as if accessing a real vehicle, and provides microphone input functionality for SpeechToText feature testing. After installing the Pleos Connect Emulator, AVD is set up as follows.
Microphone Access Settings
Set up microphone access in the emulator for testing Speech-To-Text (STT) functionality.
-
Open the settings screen in the emulator panel.
-
Set to receive audio input in the emulator.
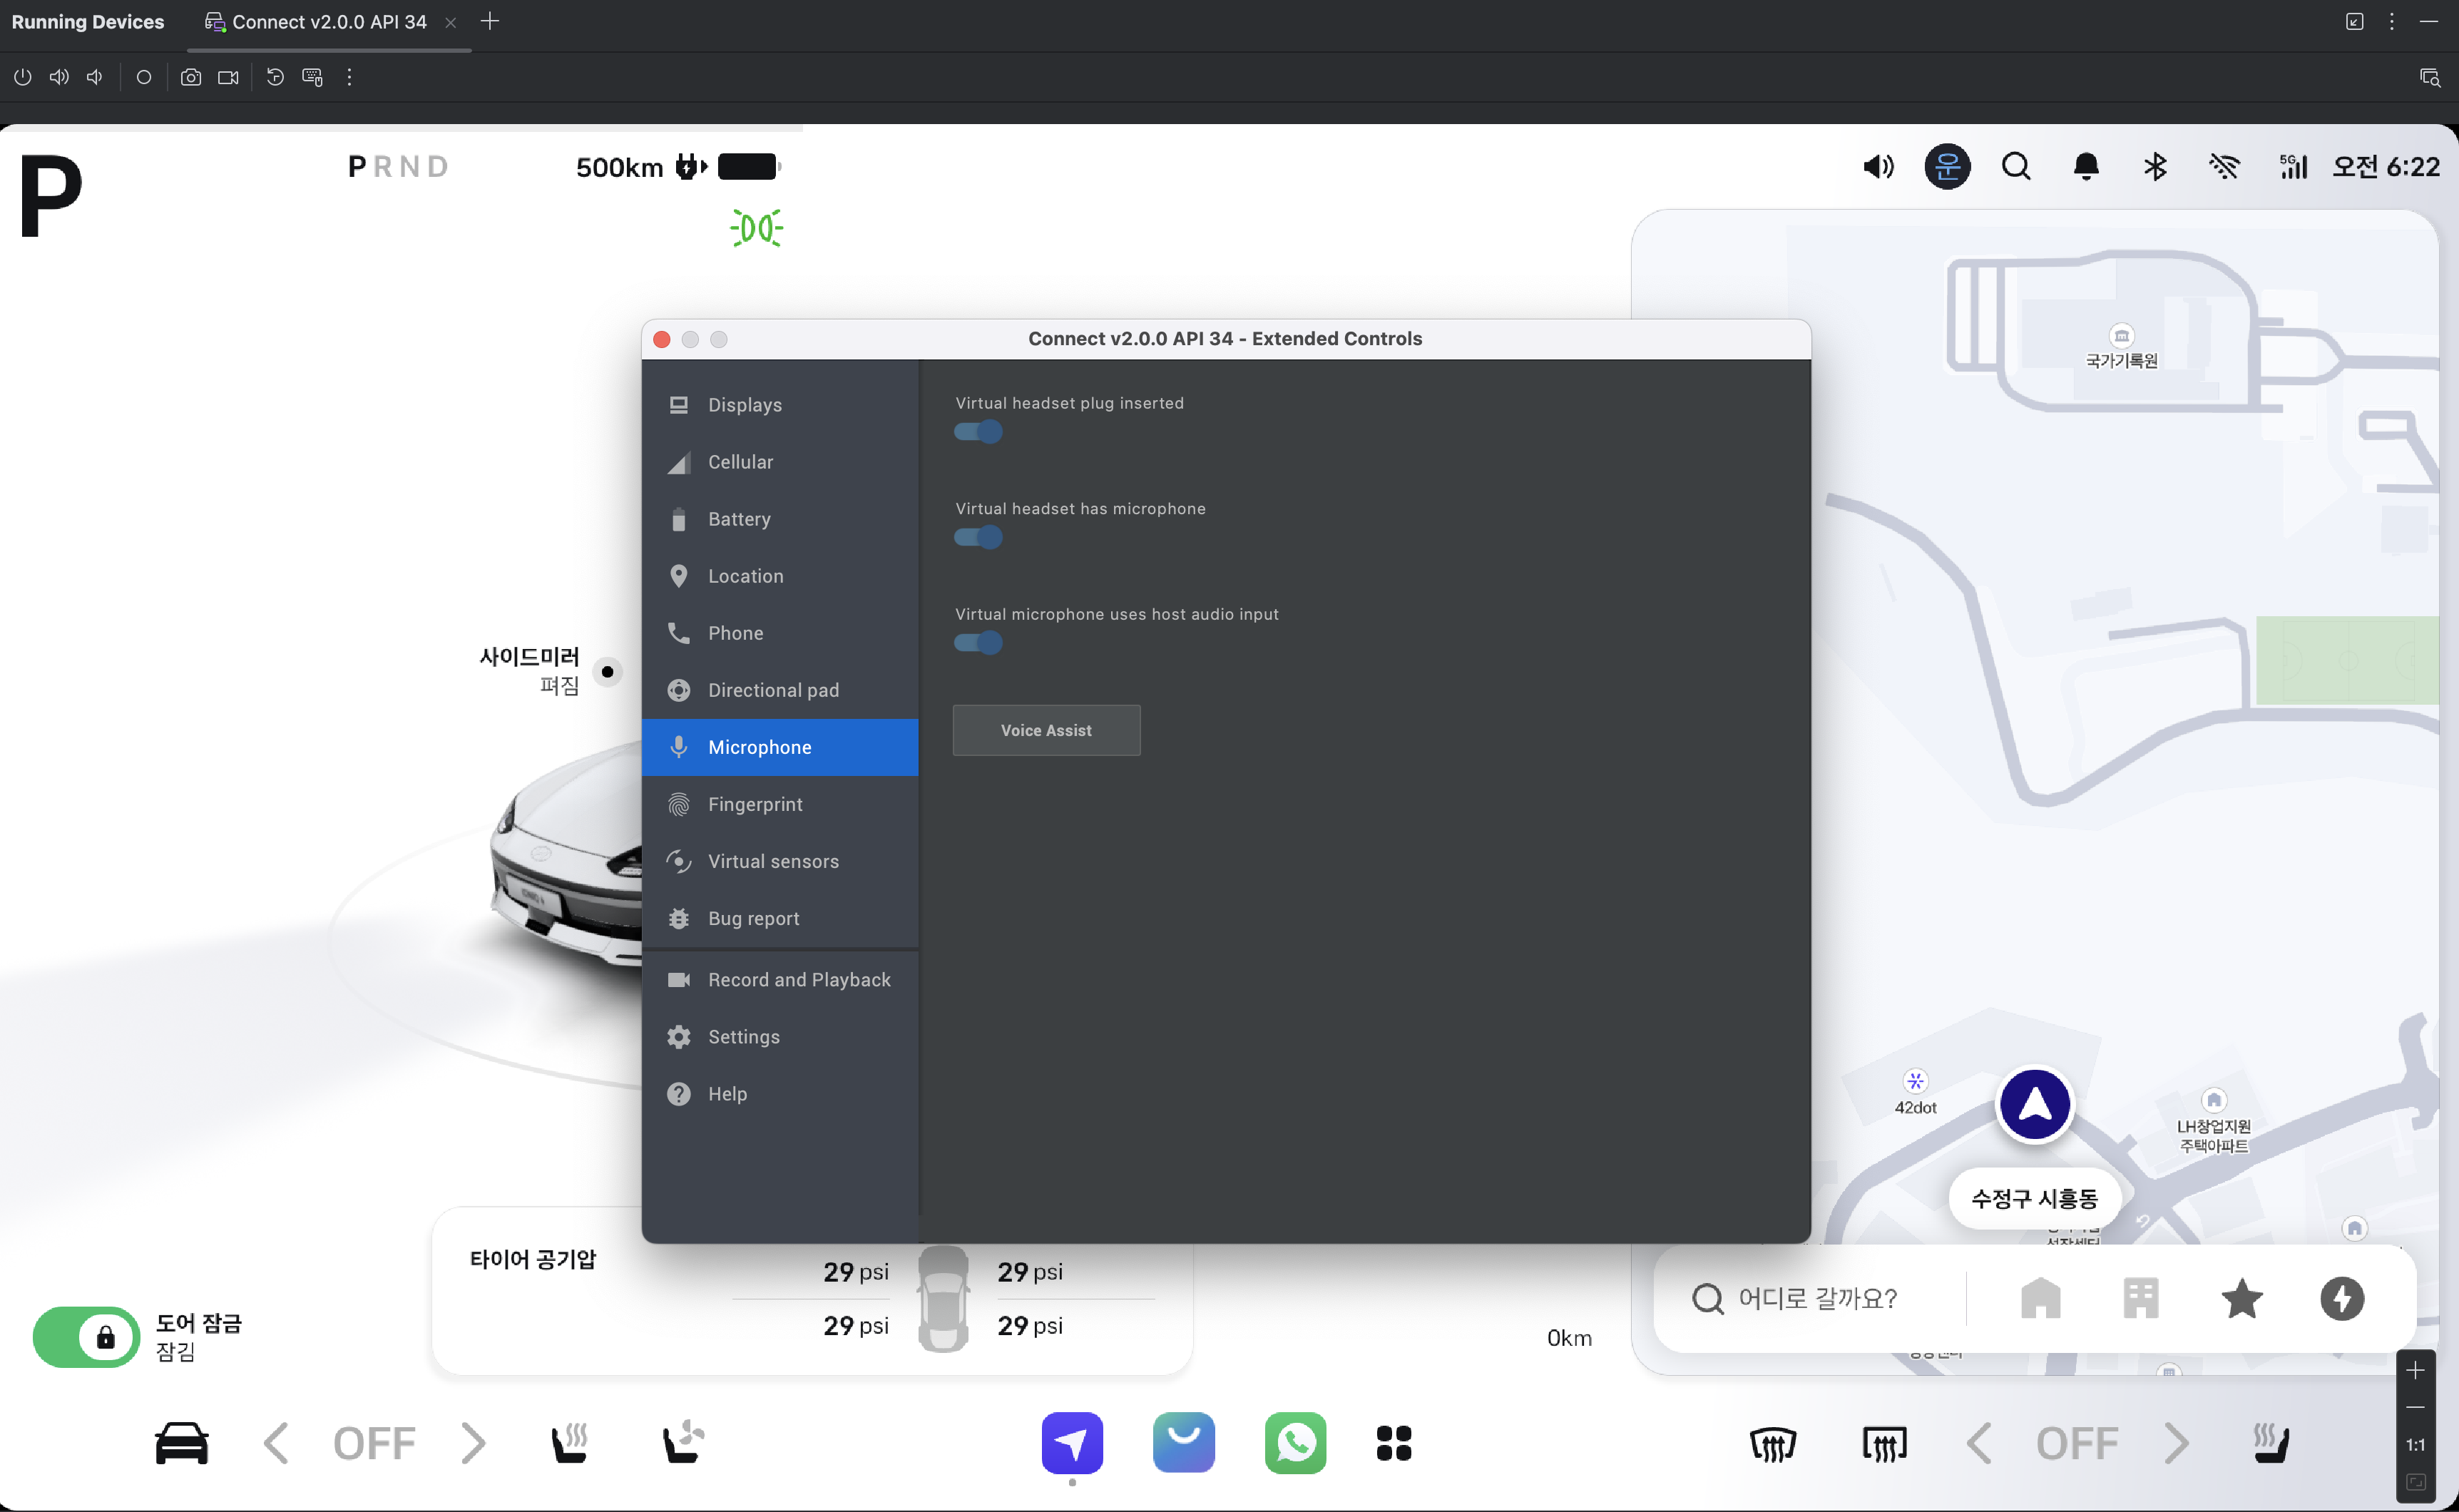
For more information, please refer to the official document on Android.
Cold Boot Settings
After installing the Pleos Connect Emulator, when adding the AVD device, be sure to set Boot options to cold boot. If set to quick boot, VHAL cannot be used. For detailed explanations of the setup procedure, please refer to the following document.
Connecting a Bluetooth Dongle to the AVD
The Pleos Connect Emulator offers limited Bluetooth (BT) functionality.
To test Bluetooth features, you need to connect a USB Bluetooth dongle to the emulator.
Refer to the following instructions based on your host operating system.
- Linux (x86): Verified using the Broadcom-based BT-400 dongle.
- macOS (arm64): Verified using the Realtek-based BT-500 dongle.
On Linux (x86)
1. Check Bluetooth Dongle Information
Use the following command in the terminal to check the Vendor ID and Product ID:
lsusb
Example output:
Bus 001 Device 010: ID 0b05:17cb ASUSTek Computer, Inc. Broadcom BCM20702A0 Bluetooth
2. Set USB Permissions for the Emulator
Add a udev rule to allow the emulator to access the USB device:
echo 'SUBSYSTEM=="usb", ATTRS{idVendor}=="0b05", ATTRS{idProduct}=="17cb", MODE="0666", GROUP="plugdev"' | sudo tee /etc/udev/rules.d/99-bt.rules
sudo udevadm control --reload
sudo udevadm trigger
3. Launch the Emulator
Run the emulator with the USB passthrough option:
emulator -avd <AVD_NAME> -usb-passthrough vendorid=0x0b05,productid=0x17cb -no-snapshot
On macOS (arm64)
macOS does not support direct USB passthrough. Instead, use the Bumble open-source Bluetooth stack as a bridge.
1. Install Bumble
Run the following commands in the terminal to install Bumble:
git clone https://github.com/google/bumble.git
cd bumble
python3 -m venv bumble-env
source bumble-env/bin/activate
pip3 install .
2. Place Firmware Files
The firmware files used by Bumble should be placed in the following directory:
This guide assumes the use of a Realtek-based BT-500 dongle. You can find the driver files in the official support page under the Linux section.
bumble/drivers/rtk_fw
3. Connect the Bluetooth Dongle via Bumble
Run the following command to bridge the Bluetooth dongle using Bumble:
sudo bumble-hci-bridge 'android-netsim:_:8877,mode=controller' 'usb:0'
4. Launch the Emulator
In another terminal window, launch the emulator with the following command:
emulator -avd <AVD_NAME> -packet-streamer-endpoint localhost:8877 -no-snapshot
Once connected successfully, Bluetooth functionality will be available in the AVD.