Set up Pleos Connect Emulator
Pleos Connect Emulator
The Pleos Connect Emulator for Android Studio and Android IDE provides an environment to build and test user apps based on Pleos Connect. Users can test apps at both the Android and Pleos Connect API levels. The emulator provides vehicle control and context from Pleos Connect at the same level.
Installing the Pleos Connect Emulator
Prerequisite
- Install the latest version of Android Studio.
- Android Studio can be downloaded here.
- Check if you meet the system requirements to run the Android Emulator.
Adding the Emulator to Android Studio
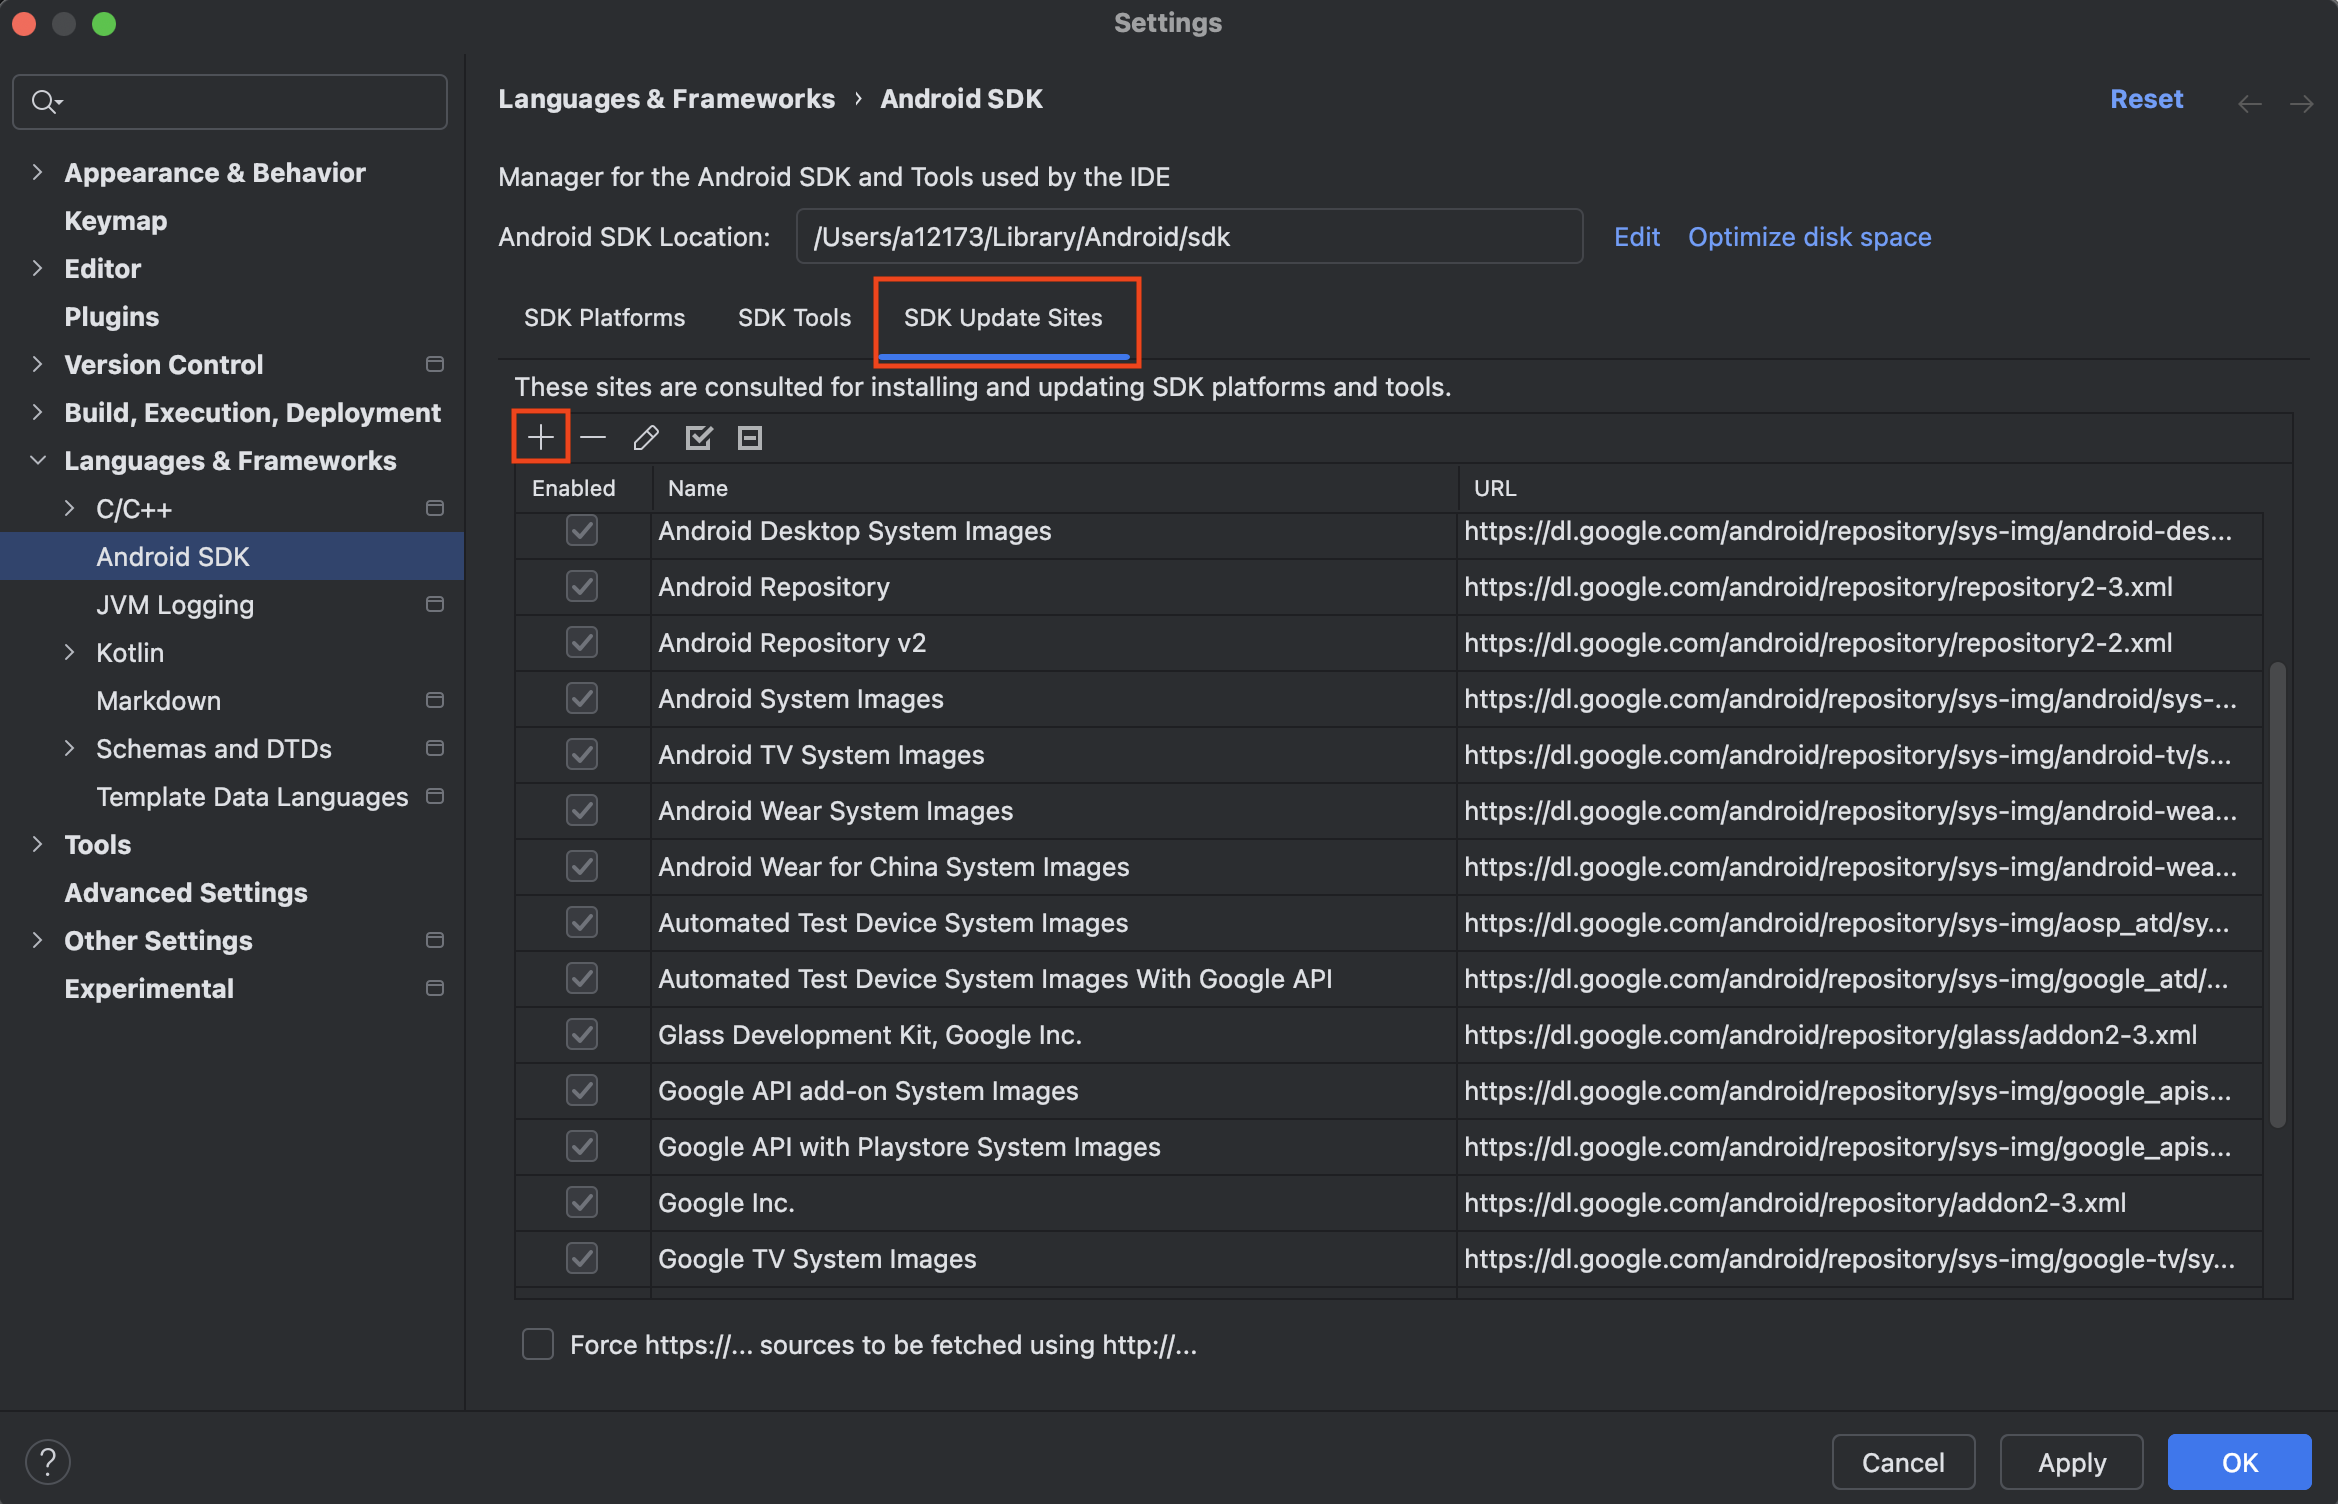
- In Android Studio, select Menu > Tools > SDK Manager.
- Click on the SDK Update Sites tab.
- Click the Add button.
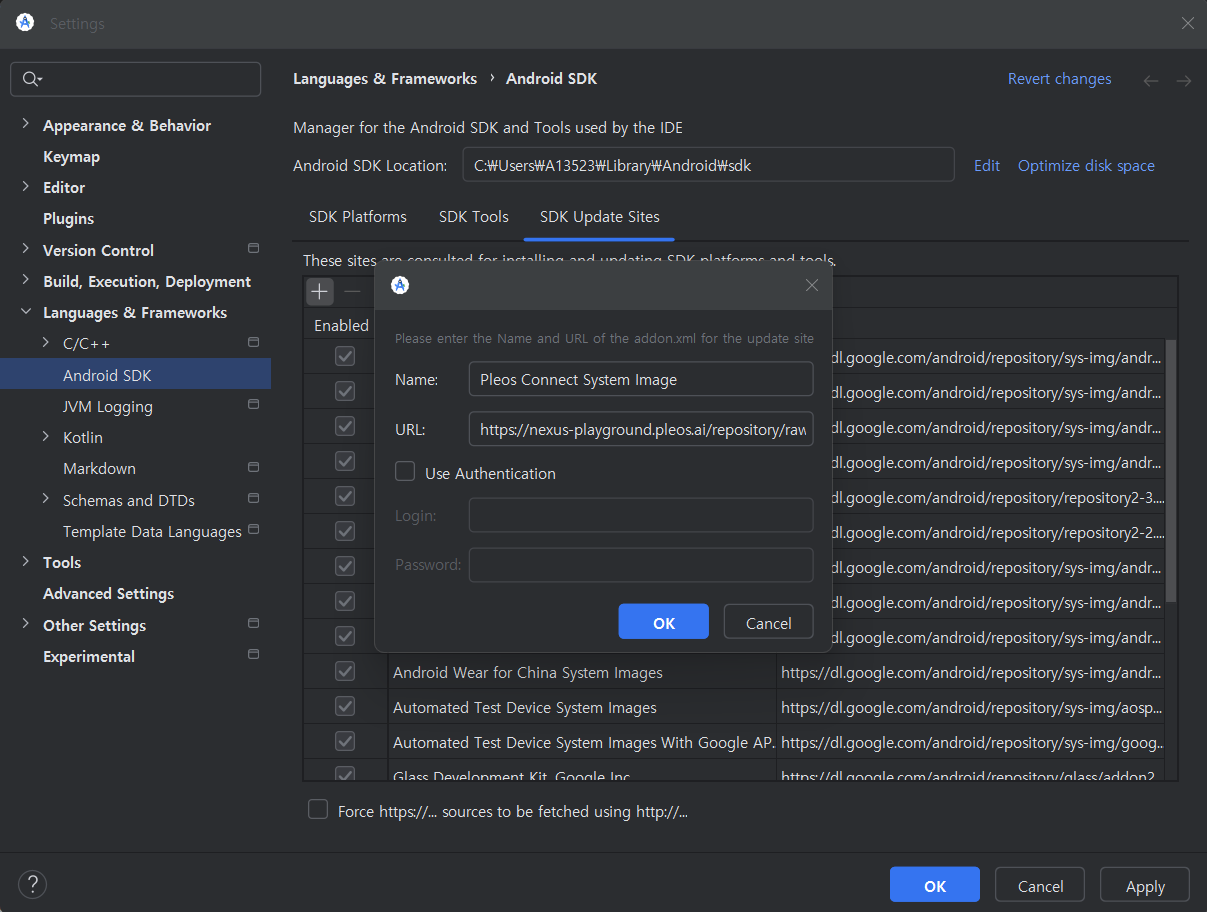
- Enter the following information to add the Pleos Connect SDK site.
- Name: Pleos Connect System Image
- URL for arm64 :
https://nexus-playground.pleos.ai/repository/raw-releases/release/connect.v2.0.5/connect.v2.0.5_avd_arm64/crp-arm64-sys-img.xml - URL for x86_64 :
https://nexus-playground.pleos.ai/repository/raw-releases/release/connect.v2.0.5/connect.v2.0.5_avd_x86_64/crp-sys-img.xml
-
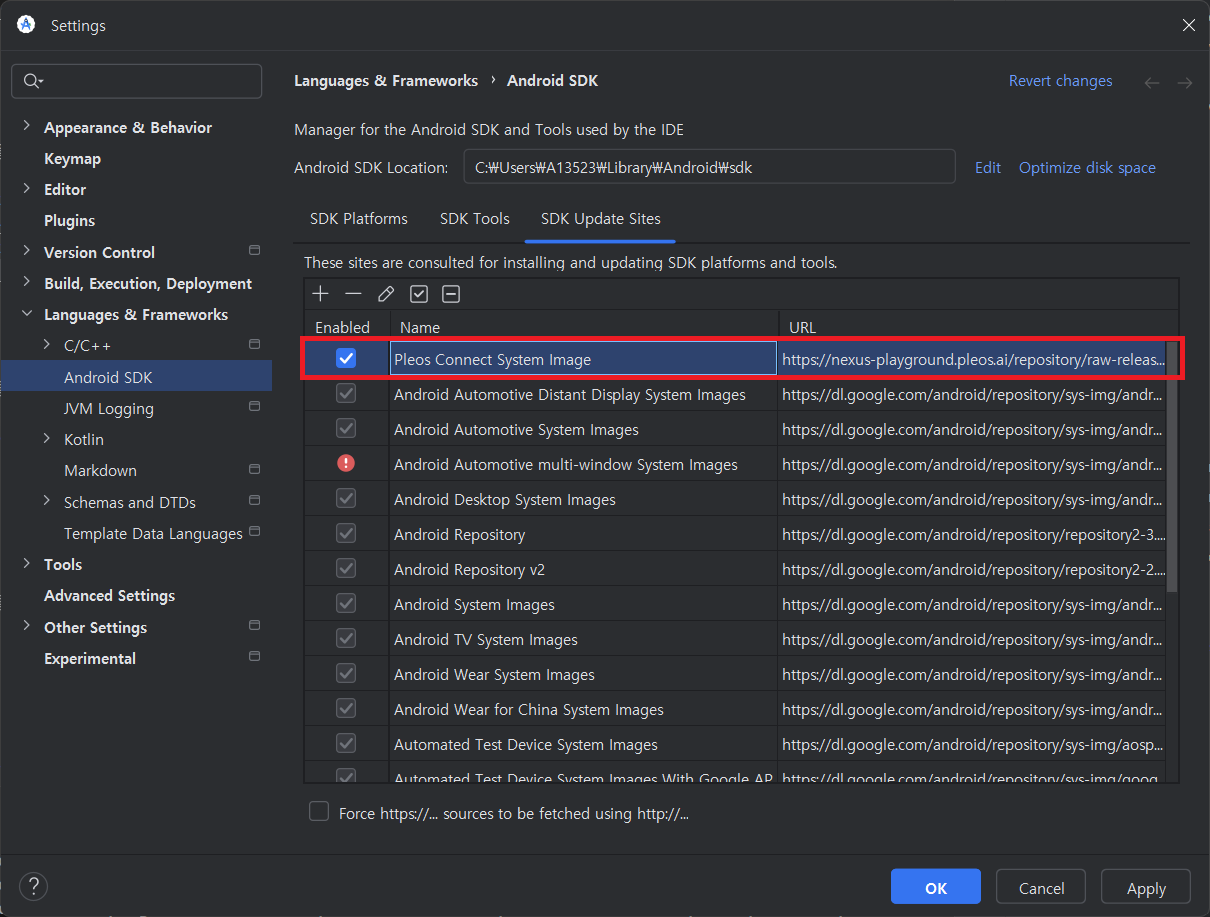
Click the OK button.
-
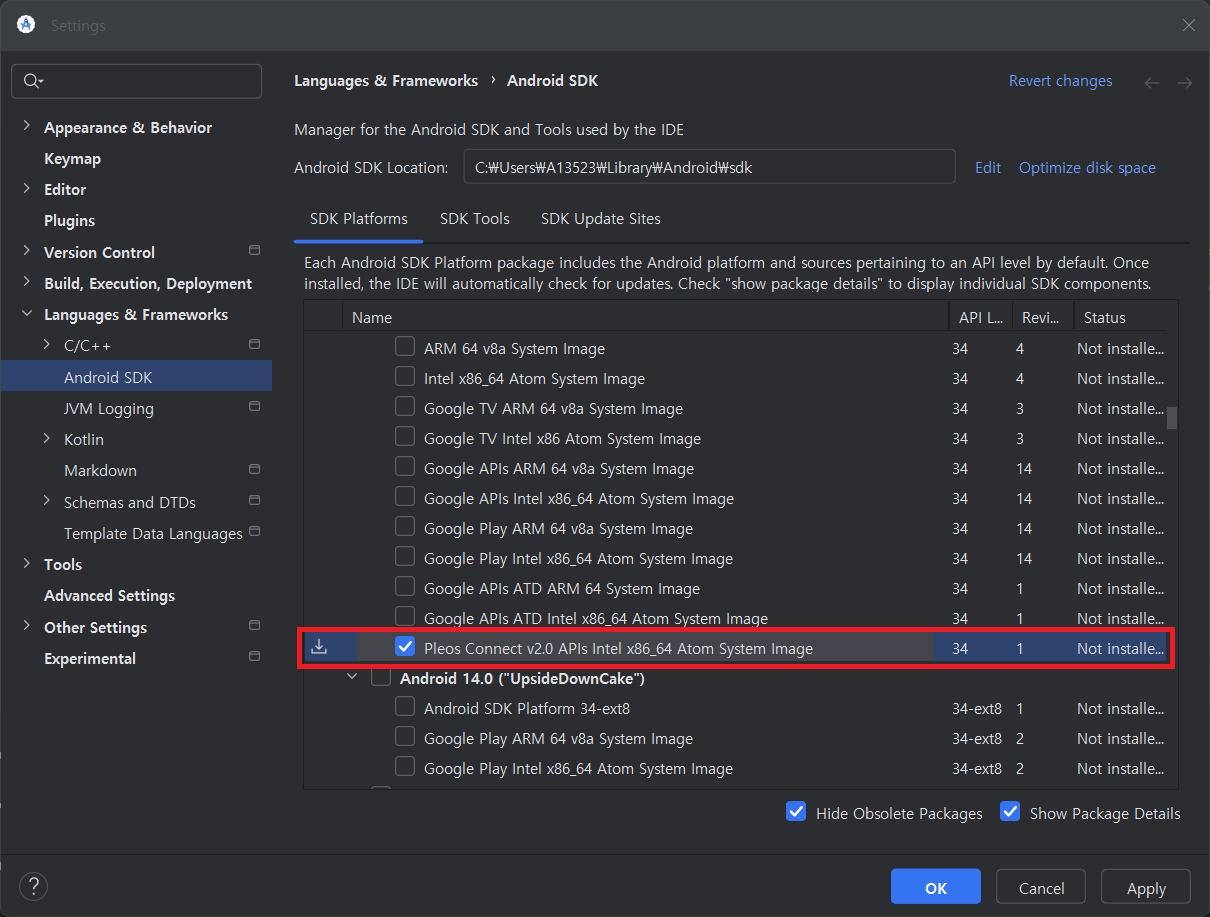
Click on the SDK Platforms tab.
-
Check the Pleos Connect system Image for Android API Level 34.
-
Also enable the checkbox for Show Package Details at the bottom.
-
Clicking the OK button will start the download of the Pleos Connect Emulator image as shown below.
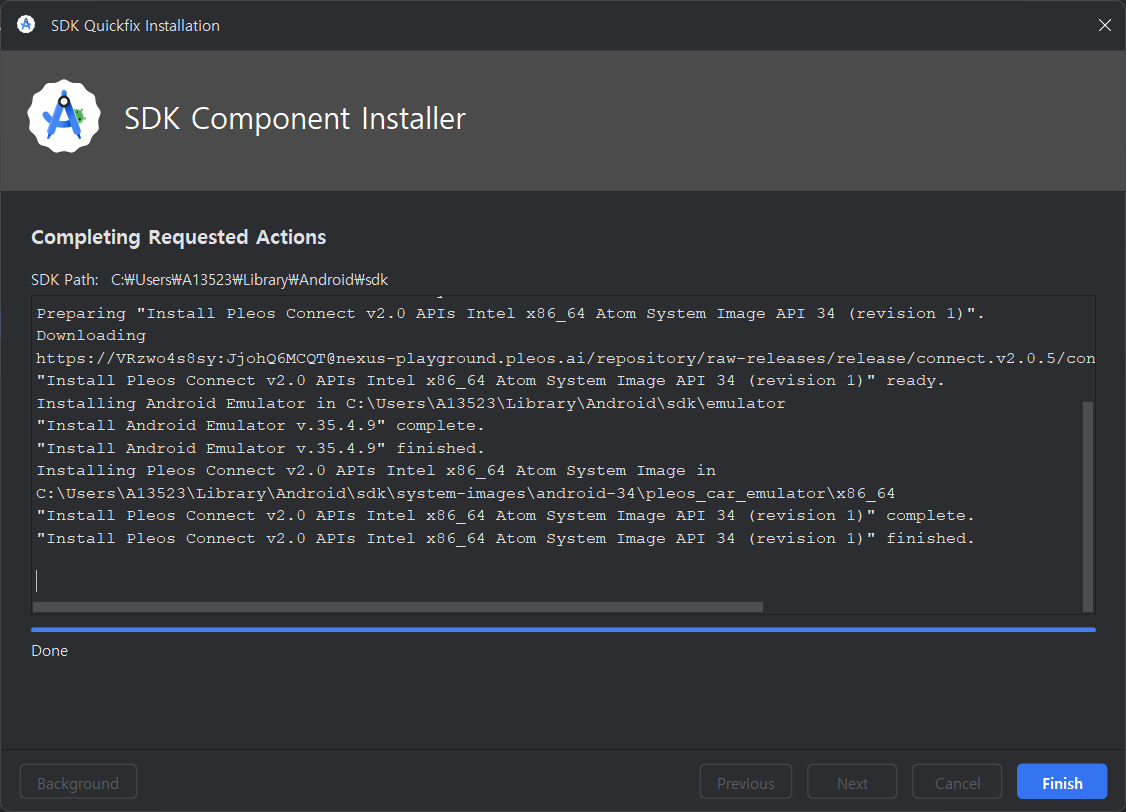
-
Once the download is complete, press the Finish button and restart Android Studio.
Setting up the emulator
-
Start Android Studio. (If you did not restart Android Studio in the previous step, please restart it first.)
-
Create an Android Virtual Device (AVD) using the Pleos Connect Emulator.
-
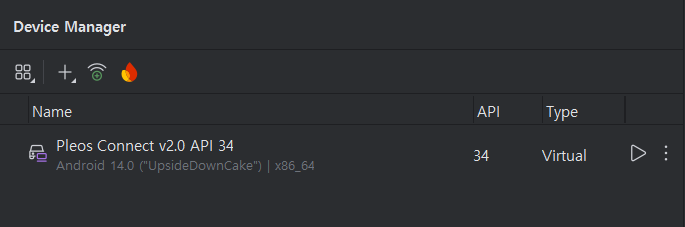
In Android Studio, select Menu > Tools > Device Manager.
-
If using an earlier version of Android Studio, select Menu > Tools > AVD Manager.
-
Create device to click. If using an earlier version of Android Studio, click Create Virtual Device.
-
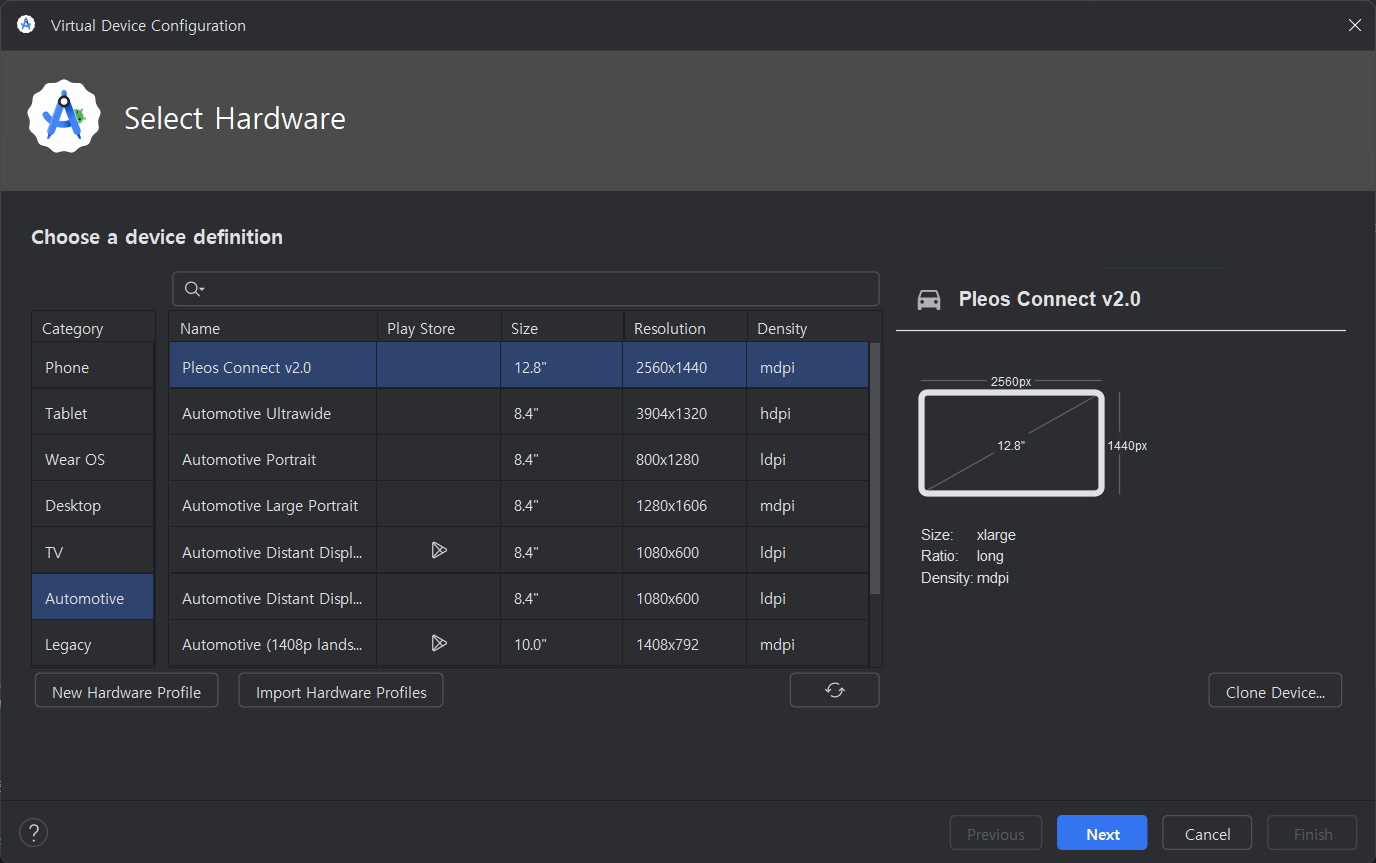
Select Automotive from the left menu.
-
Select
Pleos Connect v2.0. -
Click the Next button.
-
Select
Pleos Connect v2.0and click the Next button.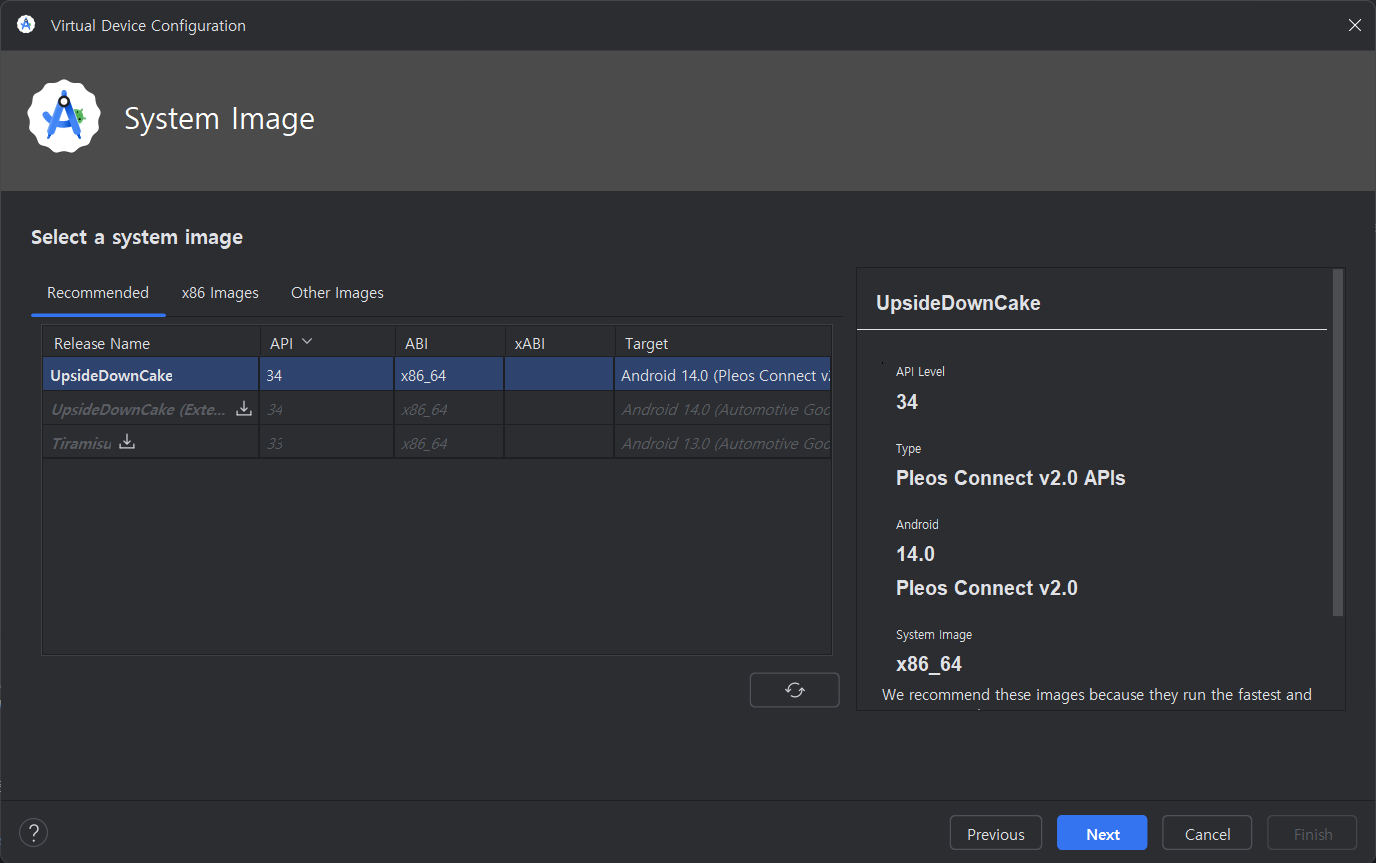
-
Show Advanced Settings to click.
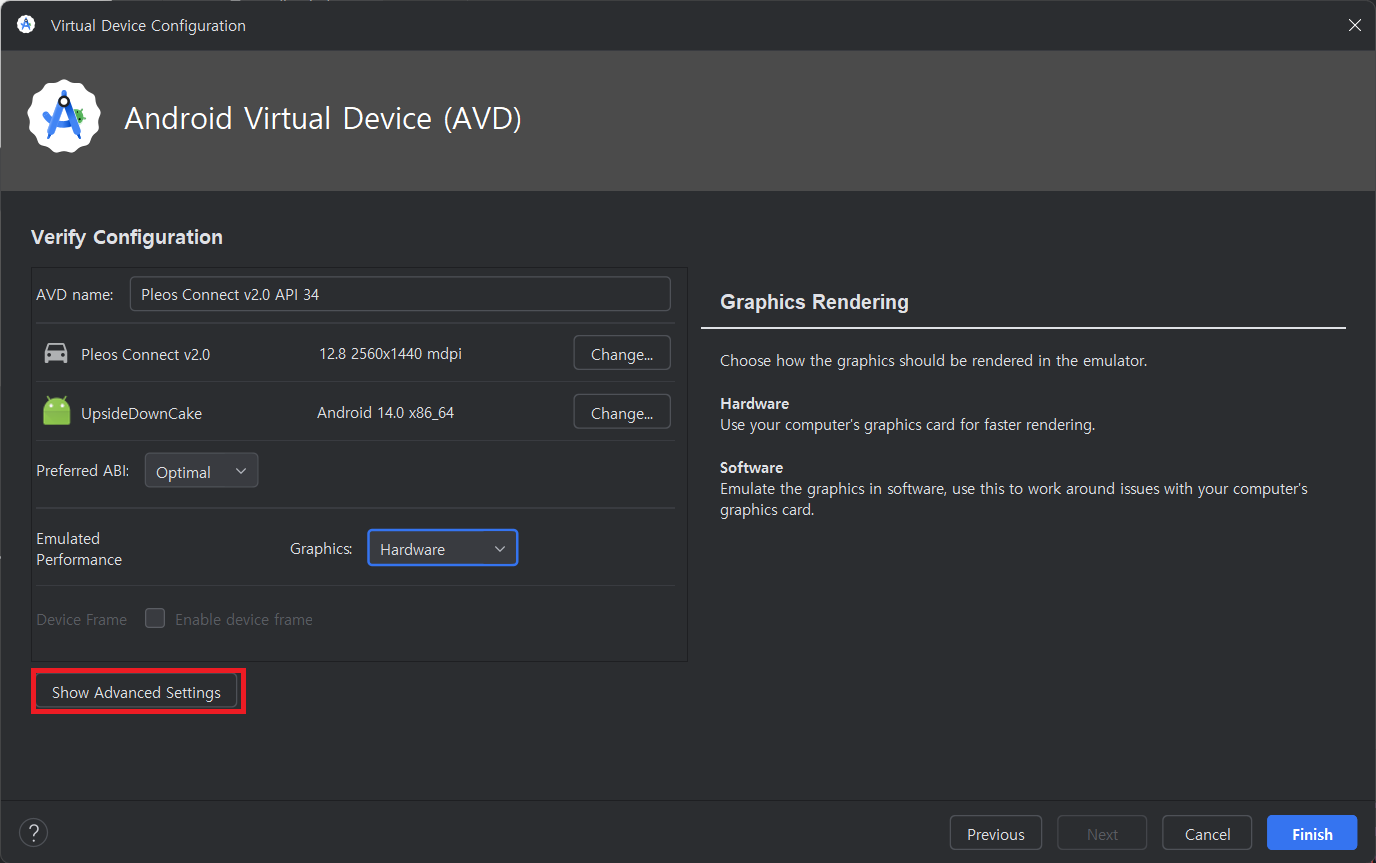
-
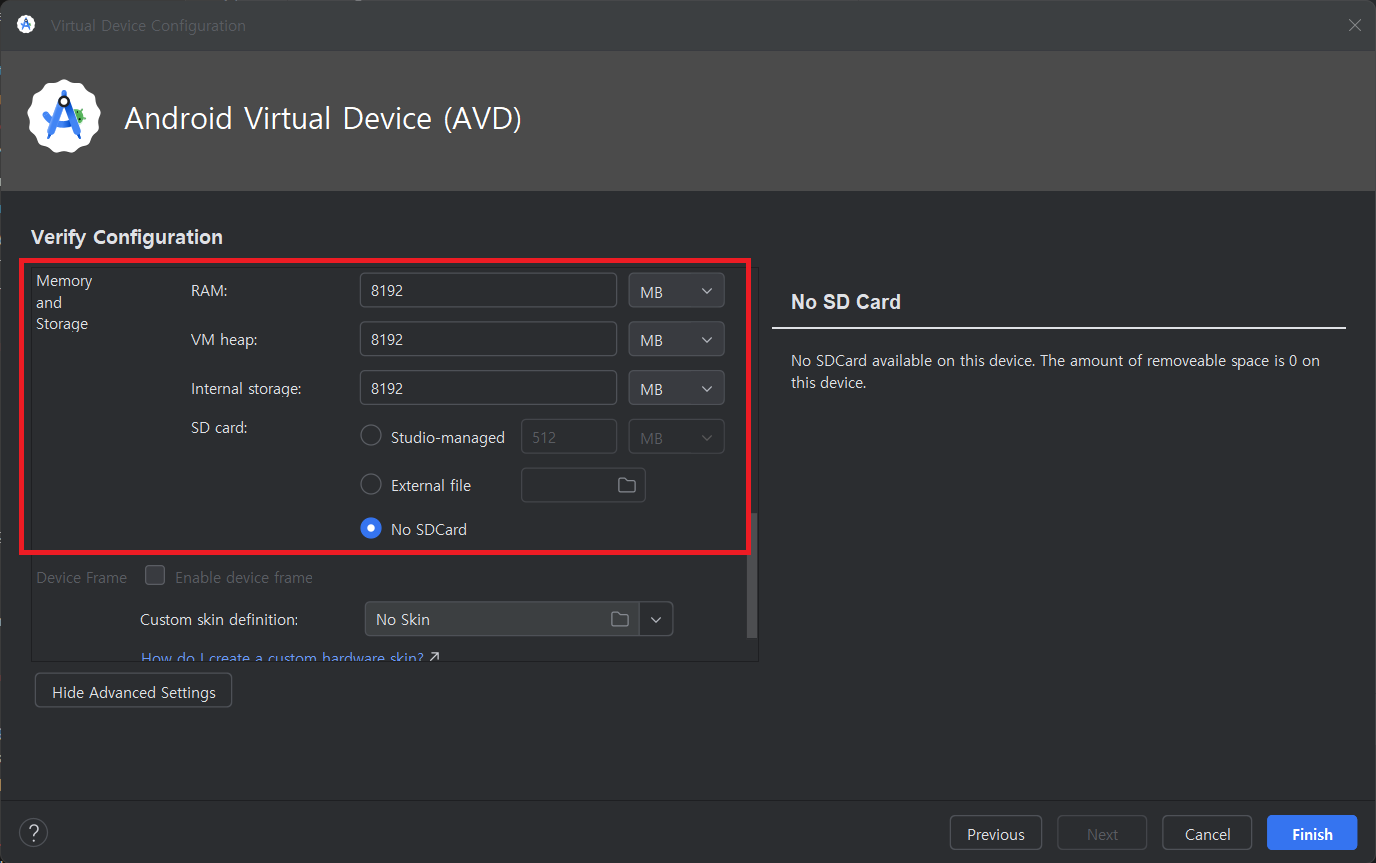
In the Emulated Performance section, set the Graphics option to Hardware and select Cold boot for the Boot option.
-ae873b0d650affa6dcda3cb1b4ea53df.png)
-
To use the on-device LLM service, set the RAM Size as follows.
Running on the emulator
- Run the AVD you created from Menu > Tools > Device Manager in Android Studio.
Testing with the Emulator
To run your app on the emulator, you must inject a Connected Resource Name (CRN) into the emulator.
The CRN can be obtained by creating a My Project in Pleos Playground.
- If you build and run the app without injecting the CRN, the following screen will appear.

- Go to Pleos Playground and create a My Project.
- In My Project > Project Info > Test Info, copy the CRN.
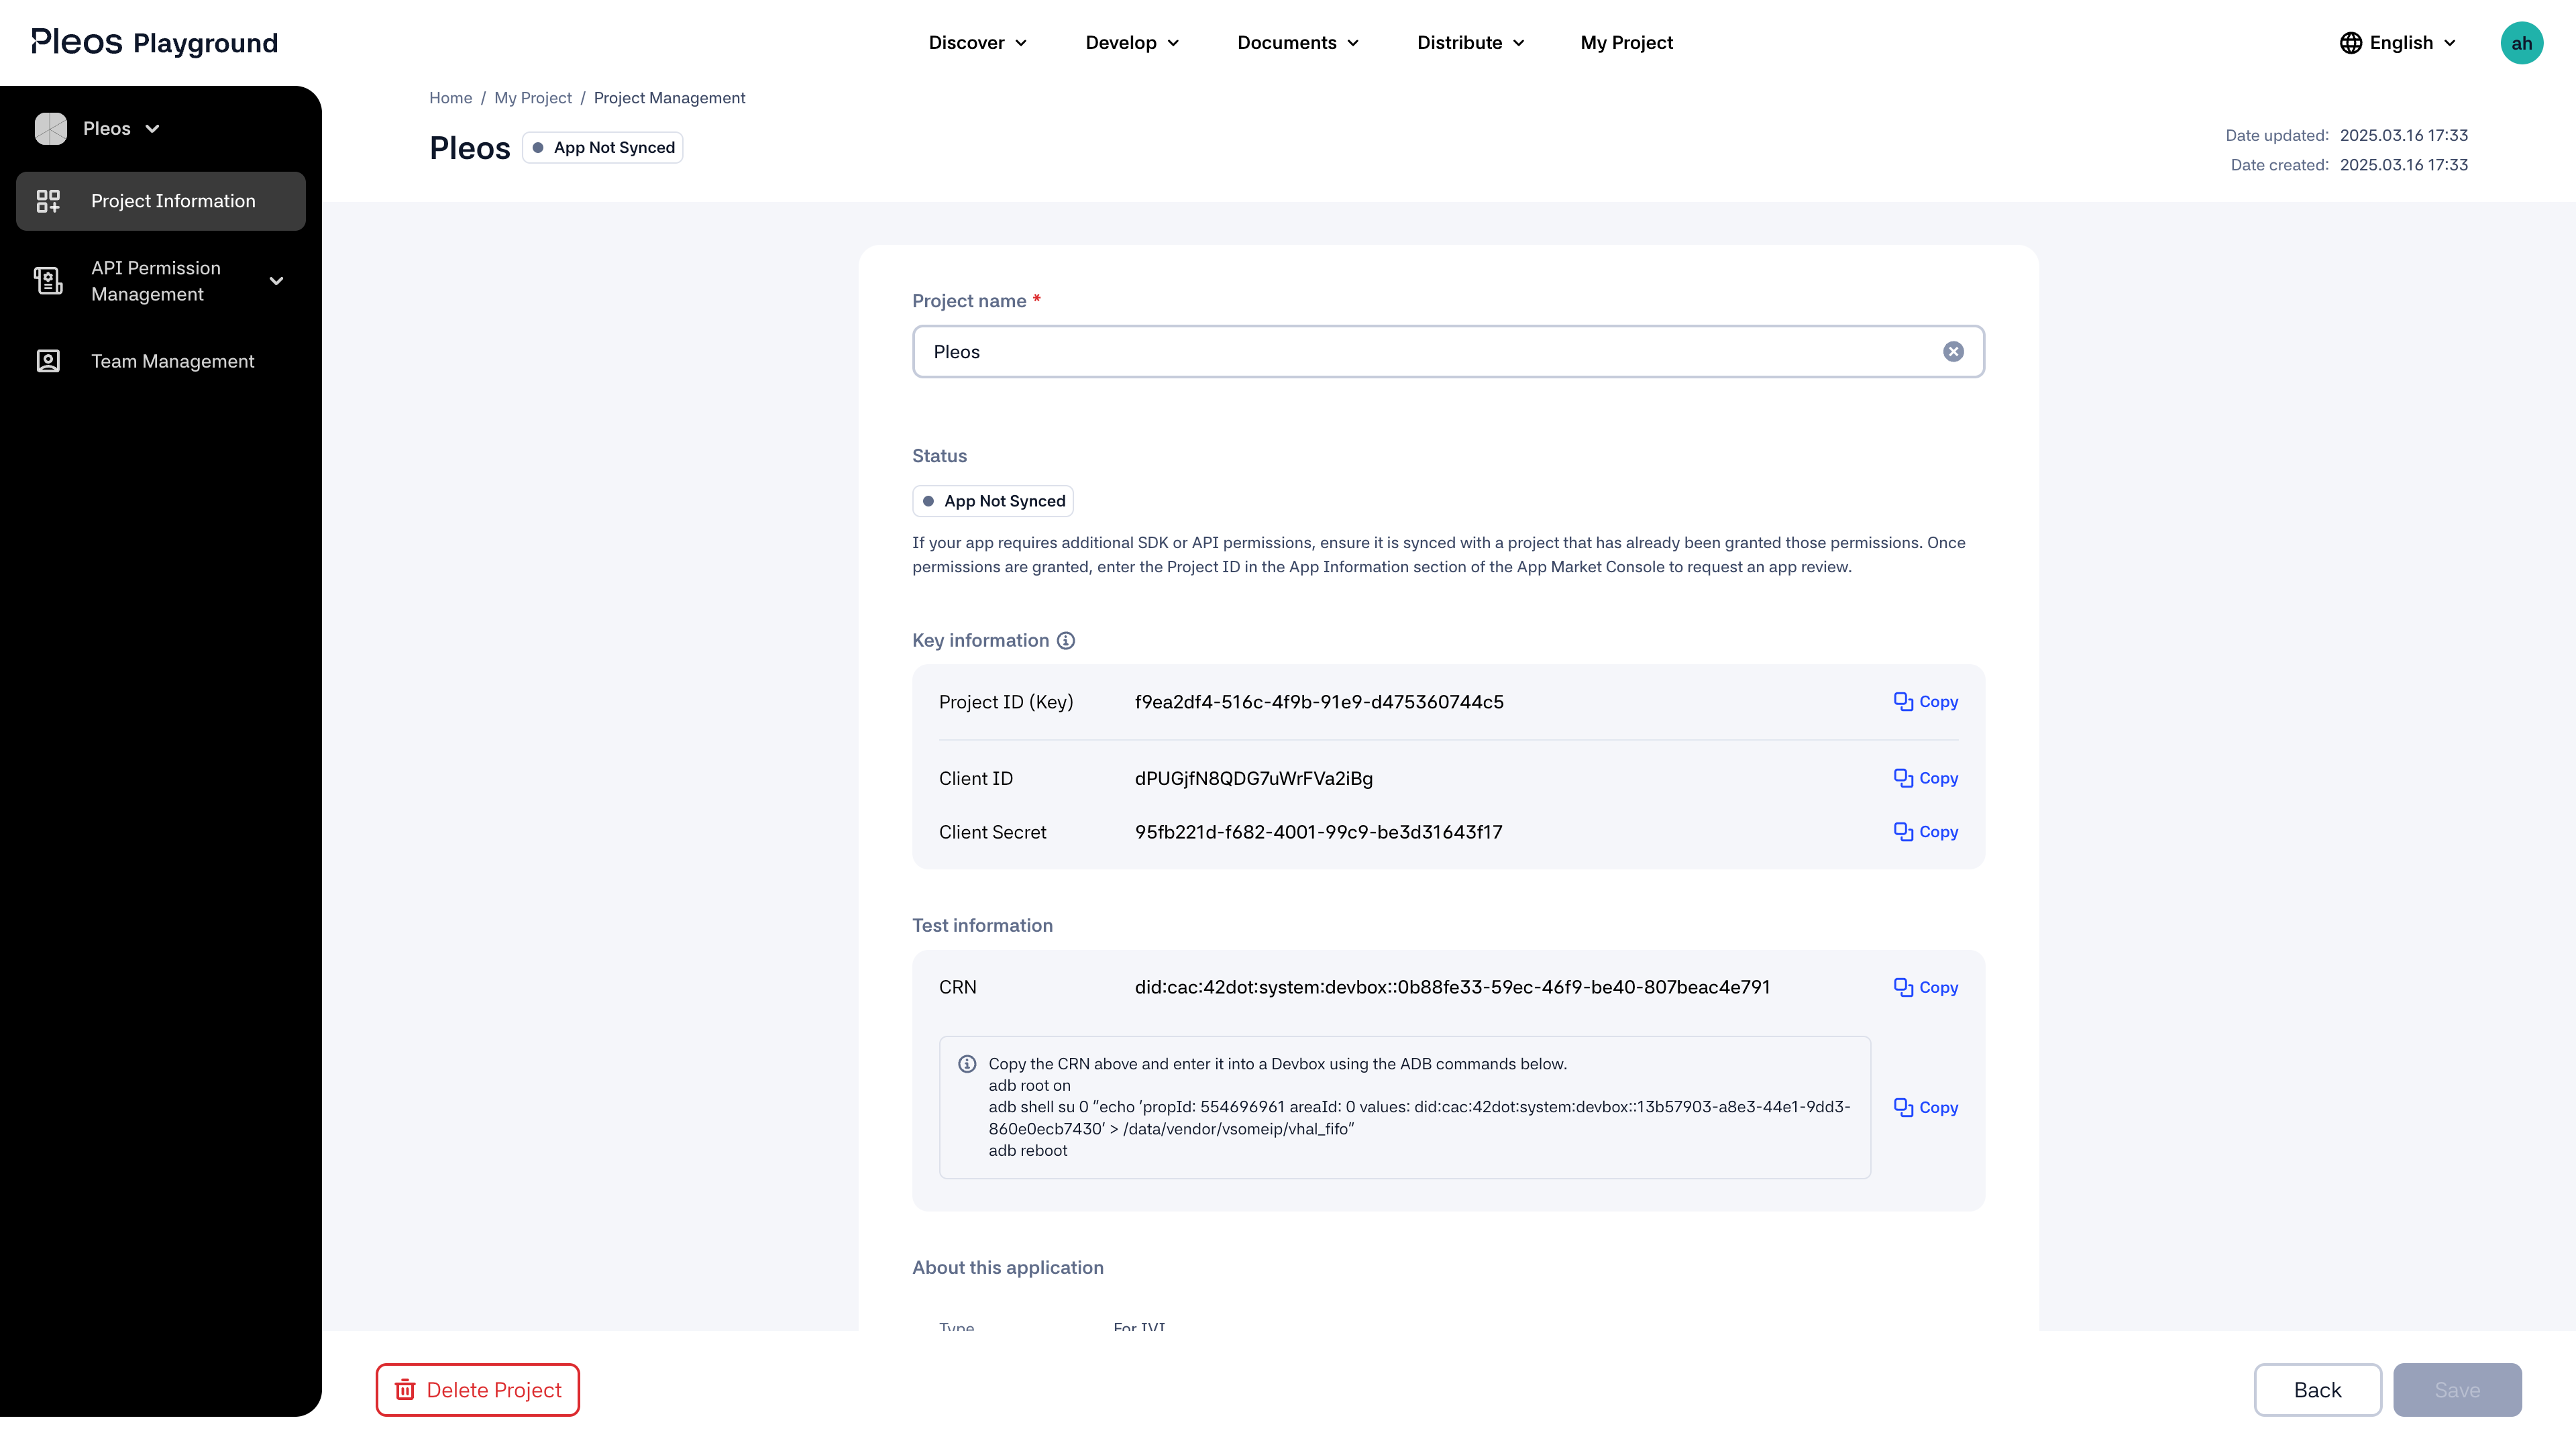
- Inject the CRN into the emulator. In the Android Studio terminal, run the following commands. Replace
{CRN}with the CRN copied in step 3:adb root on
adb shell su 0 "echo 'propId: 554696961 areaId: 0 values: {CRN}' > /data/vendor/vsomeip/vhal_fifo"
adb reboot - After injecting the CRN, restart the emulator.
- Once the emulator restarts, you can build and run your app on it.
How to recover from infinite booting
The Android Emulator has several known issues, please refer to the link below. Known issues in Android Emulator
There are also several known issues with Android Studio and the Gradle plugin, please refer to the link below. Known issues in Android Studio and Android Gradle plugin